This last weekend, WCG’s Community Education Director Mike and School Garden Program Coordinator Liz teamed up to host a Hoop House Building workshop at Escalante Elementary School. Mike provided the skills and know-how (and don’t-know-how) to build the hoop house, and Liz provided the space.

Liz: I have been wanting to build a hoop house from the ground up for a while now. I have always liked the one at the Grateful Tomato Garden but it seems out of my legue - I mean really, a framed door?? When I saw the bed at Escalante, I knew it would be perfect for a hoop house… It was just a matter of convincing Mike to help me build it.
Mike: This couldn’t have worked out better. I’ve long wanted to do more hands-on workshops, and I’ve also wanted to collaborate more with other WCG programs. I also really wanted to show folks just how easy it can be to make a hoop house. It’s not out of anyone’s league - or even legue!
Liz: Ew! Making fun of my spelling errors. What a jerk.

Liz: The first thing that Mike had me do was take some measurements of the bed.
Mike: The bed measurements dictate everything else you will do - how many cross sections you will need, how long they need to be, the size of the plastic. Plus it’s an excuse for Liz to show off her adorable niece and nephew. Shameless.

Liz: Right before the Hoop House workshop on Saturday, I finished filling the bed with soil and prepared two planting beds with a pathway that runs down the middle.
Mike: Fun fact: everything Liz does is required to be cute. Even simple brick pavers.
Liz: Really, why not make everything cute?

Liz: OMG. These PVC pipes were 20’ long! I would say getting these pipes from The Home Depot to the site was the trickiest part of the whole project. Luckily, Mike and I had a pretty good sized truck that we tied them too (although they still hung over both the front and the back), but I would maybe suggest cutting the pipes at the hardware store.
Mike: These pipes would become the semi-circle cross sections. We calculated these by solving for the integral from a to b of the function describing the curve. Just kidding, we took the height we wanted from the ground to the top of the hoop house (the radius - six feet in our case) and multiplied by 3 (close enough to pi).

Liz: Here, the workshop attendees are measuring the distance between hoops and hammering the rebar posts into the ground.
Mike: Here, the workshop attendees are dealing with my first mistake, wherein I miscalculated the distance between each cross section. What’s a hands-on DIY project without a math error, am I right? We haven’t had to go to Home Depot seventeen times yet, so it’s a success.

Liz: After we hammered the rebar into the ground, we looped the pipes over the bed! Because of math, we determined that we needed to install the rebar about 18” outside the bed to get the desired height of 6’. The bed is about 8” high, so that means that the walking area under the hoop house is just over 5’. This might seem low to most people, but I am a mere 5’ tall, and I wanted to be able to work on all the parts of the hoop house myself. It is important for me to be able to roll up the plastic, remove or add it, work on the connectors, etc without a stepladder.
Mike: Some of Liz’s students are taller than she is! I always learn little things when I teach workshops, which is a great part of this job. One thing I learned here is that it’s important to measure the cross distance between rebar pieces, to make sure that they’re all spaced 12’ apart. If not, then one arch could be higher or lower than the rest, which doesn’t seem like a big deal but will really impact the next step.

Liz: We added the plastic and planted some radishes, lettuce, carrots, and cilantro to see what is going to grow!
Mike: Growing in a hoop house is a great way to extend your growing season, or get in more successions of some cool weather crops. But it’s also a great way to get a jump start on some warm weather crops in the spring.

Liz: Instead of doing a framed door, we went with a “curtain” type entry. We just cut the end of the plastic up the middle and are closing it with some clamps. We drilled some small pieces of wood to the bed at the bottom of the doorway, and anchored our curtains to the wood with some more clips.
Mike: This is an easy and affordable alternative to framing out a door.

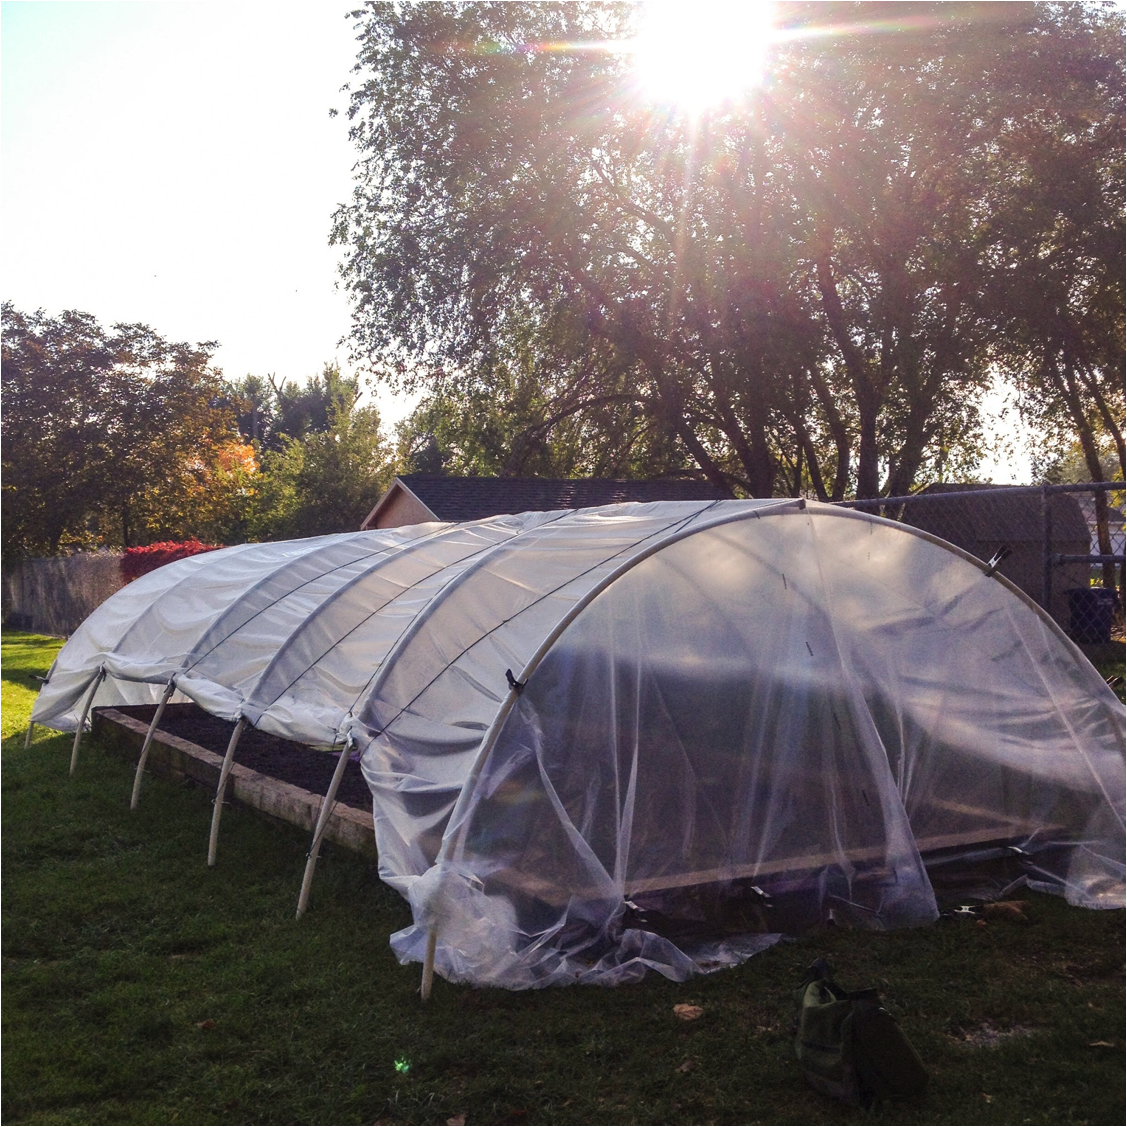
Liz: The sides of the hoop house roll up, allowing us to vent it when the weather gets too warm.
Mike: It’s really important that the sides of the hoop house roll up; if not, it can get too hot inside and some of your cool-weather crops might cook. Another thing to note is that you should roll the sides underneath. Otherwise, if it rains, water can pool in the roll and add a lot of weight to the the frame. The parachute cords here takes the slack out of the plastic, so that snow and rain don’t pool on the top and potentially collapse the entire structure.

Liz: Our perfectly kid-sized hoop house.
Mike: Our perfectly Liz-sized hoop house.
Commentary by Liz Pedersen, WCG School Garden Coordinator, & Mike Lynch, Community Education Director.


